Have you ever thought, "I want to add a little surprise to your website's UI..."
Simple buttons aren't enough, but too complicated animations are difficult to handle... The perfect idea for such occasions is the "explosive 3D button"!
When clicked, this button breaks down into particles, making it seem like it's exploding. What's more, it has an interesting mechanism where it returns to its original shape after a certain period of time.
React and Three.js make it easy to achieve such an interactive and beautiful UI.
We will continue to create lessons and works from TypeScript x React Three Fiber in the future!
We will be making an announcement on YouTube, so please subscribe to our YouTube channel and wait for notifications!
📺 Watch YouTube : You can watch it from this link

If you'd like to know what React Three Fiber can do, please refer to the following!
We have easy-to-use works available!
- I tried making bears walk with React x Three.js!
- I tried making an old man dance on React x Three.js!
- I tried to display a 3D model with React x Three.js!
- I made a 3D button that explodes in React x Three.js!
- React Three Fiber x Drei x Introduction to TypeScript! Poke Poke style 3D background made with standard objects!
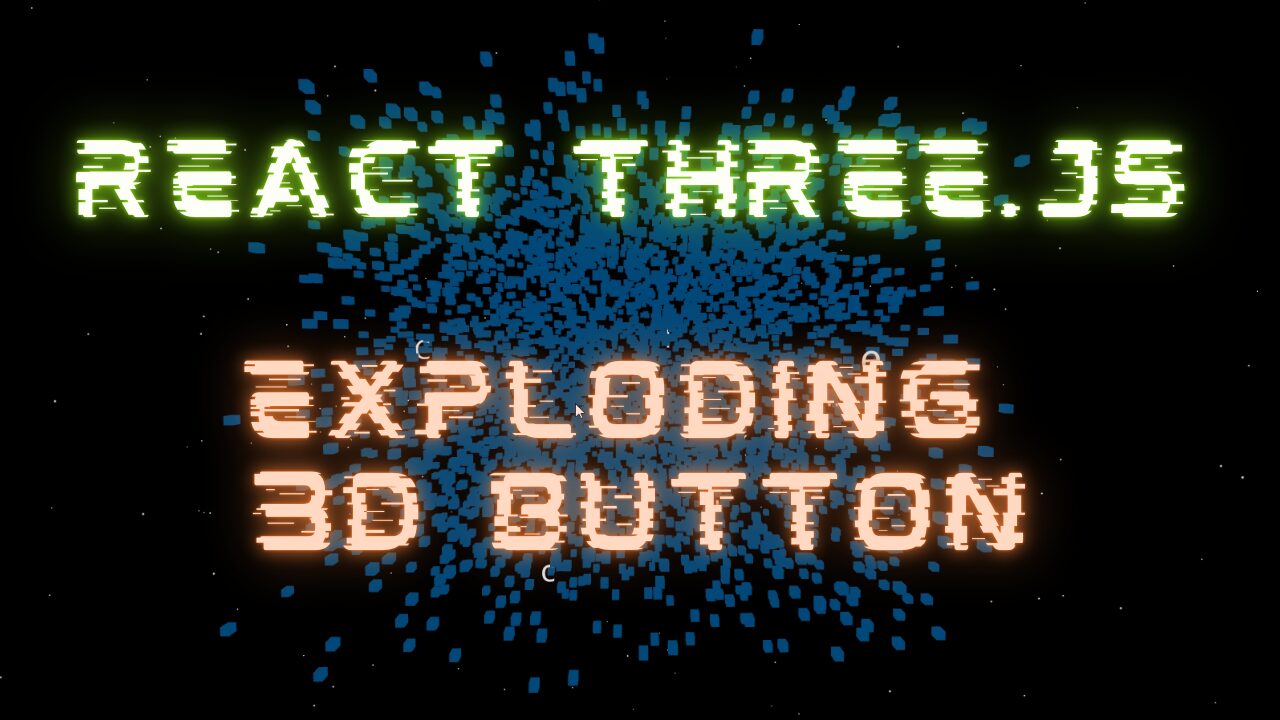
Demo of exploding 3D buttons
Click to see the surprising 3D buttons that explode when you click on them!
You can see the demo of the finished product in the video below.
📺 Watch the demo on YouTube : You can watch it from this link
Additionally, the source code for this project is available on GitHub.
Please download the code and try it out!
💾 GitHub Repository : Check the source code at this link

If you're wondering, "I've seen it, how do I make it?", don't worry!
In this article, we will explain step-by-step how to create this 3D button from scratch.
Necessary Techniques and Key Library
This project uses the following technologies and libraries: Here is a brief explanation of each role.
- React
- Library for front-end development
- Efficient UI construction with component-based design
- Three.js
- A library for drawing 3D graphics on the web
- It makes it easy to handle complex WebGL operations
- React Three Fiber
- Wrapper library for handling Three.js in React
- You can take advantage of the powerful features of Three.js in React development style
- React Thee Drei
- React Three Fiber Extension Library
- React Three Fiber Extension Library
Overall implementation design
This project will achieve a simple flow of "particles gather to form buttons, and when clicked it explodes, returning to its original shape."
- Initial state (Idle)
-
- The particles are arranged regularly to form the shape of buttons.
- The text "Click Me!!" will be displayed on the front.
- Click event occurrence (Trigger)
-
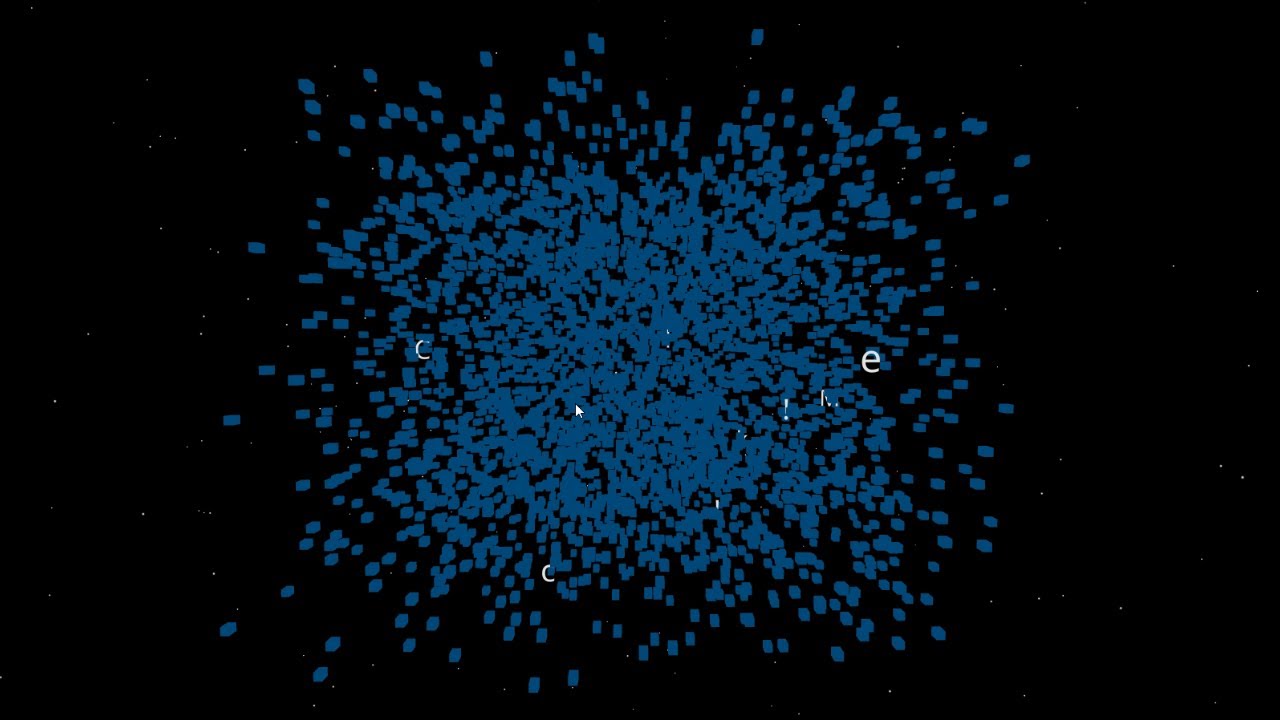
- Clicking the button will start a explosive splashing action of all particles.
- This behavior is called "explode".
- Explode
-
- The particles move in a random direction.
- The velocity and direction are set randomly for each particle.
- Return to original shape (Reset)
-
- After a certain amount of time, the particles return to their original position and form a button again.
- The back movements are smoothly interpolated to achieve natural animation.
Environmental preparation
This section provides the initial setup for your project. Create a React app using the npx command, install the required libraries and organize the folder structure.
Creating a React App
First, create a React app using the npx command.
npx create-react-app exploding-button --template typescriptexploding-buttonis the name of the project--templateUse a TypeScript-enabled template by specifying
Installing the required libraries
Install React Three Fiber and other libraries.
cd exploding-button npm install three @react-three/fiber @react-three/drei- three : Three.js main body
- @react-three/fiber : A wrapper for using Three.js with React
- @react-three/drei : Useful helpers such as camera controls and text drawing
Reviewing folder structure and deleting unnecessary files
Organize and add folders from the initial state as follows:
Basically, it is the default value, but for files you don't know, please check out GitHub.
exploding-button/ ├── node_modules/ ├── public/ ├── src/ ├── components/ // Directory for adding other components │ ├── data/ // For files that manage data if necessary │ ├── pages/ // Components managed on a page-by-page basis │ ├── ExplodingButtonPage/ │ │ ├── ExplodingButtonPage.tsx // Main page code │ │ └── ExplodingButtonPage.css // Style sheet │ ├── App.tsx // App entry points │ ├── index.tsx // React rendering process │ ├── App.css // Global Style │ ├── index.css // Global CSS ├── package.json ├── tsconfig.json // TypeScript settings └── README.md // Project overviewThe files to be modified this time are as follows:
App.tsx: App entry pointspages/ExplodingButtonPage: The folder to be created this timeExplodingButtonPage.tsx: Component of the main page.ExplodingButtonPage.css: Page-specific style.
Detailed explanation of the source code for each step
In the following sections, we will explain in detail the five parts below in order.
- Defines basic settings such as button and particle size, speed, and operating time
- These constants are used throughout the project and can be easily adjusted by modifying them
- Defines the data structure for each particle that makes up the button
- Using TypeScript to improve code readability and maintainability
- Generates cube particles and text particles that make up the button
- Randomly set the initial position of each particle and the velocity vector at the time of explosion
- We will also implement the logic to place the "Click Me!!" characters on the button surface.
- Draw the generated particles in 3D space
UseFramecontrols animations (popping out movements) when exploding and animations that return to their original position- Separate text and cubes using appropriate drawing methods.
- It is a component that governs the whole
- Performs state management (
idleandexplode - The background and camera control settings will also be implemented here.
- Includes
ExplodingParticlesto display particles
Check the whole source
Below is the complete source code for the explosive 3D buttons created in this article. All the code is put together, so it's easy to get an idea of how it works.
If you would like to see other sources, please check on GitHub.
import './App.css'; import { ExplodingButtonPage } from './pages'; function App() { return (<div className="App"><ExplodingButtonPage /></div> ); } export default App;import React, { useRef, useState } from "react"; import { Canvas, useFrame } from "@react-three/fiber"; import { OrbitControls, Stars, Text } from "@react-three/drei"; import * as THREE from "three"; // ===== // PART 1: Constant definition // ===== const PARTICLE_SIZE = 0.1; // 1 particle size const PARTICLE_NUM_WIDTH = 40; // Number of particles (horizontal) const PARTICLE_NUM_HEIGHT = 20; // Number of particles (horizontal) const PARTICLE_NUM_THICKNESS = 5; // Number of particles (horizontal) const BUTTON_SIZE_WIDTH = PARTICLE_SIZE * PARTICLE_NUM_WIDTH; // Button size = 1 particle * Number of particles const BUTTON_SIZE_HEIGHT = PARTICLE_SIZE * PARTICLE_NUM_HEIGHT; // Button size = 1 particle * number of particles const BUTTON_SIZE_THICKNESS = PARTICLE_SIZE * PARTICLE_NUM_THICKNESS; // Button size = 1 particle * number of particles const TEXT = "Click Me!!"; // Text to display const TEXT_SIZE = BUTTON_SIZE_WIDTH / TEXT.length; // Size per character const TEXT_FLOAT_OFFSET = 0.01; // The distance that allows text to float from the button surface const PARTICLE_SPEED = 2.0; // Speed at explosion const PARTICLE_TIME = 5 * 1000; // duration of explosion in seconds const RESET_SPEED = 0.05; // Speed to return to original position // ===== // PART 2: Type definition // ==== type Particle = { id: number; // Unique ID startPosition: THREE.Vector3; // Initial position position: THREE.Vector3; // Current position: THREE.Vector3; // Explosion speed vector scale: number; // Size char?: string; // Characters for text particles }; // ===== // PART 3: Particle generation function // ===== const generateButtonParticles = (): Particle[] => { const particles: Particle[] = []; // --- Generate button particles --- for (let x = 0; x < PARTICLE_NUM_WIDTH; x++) { for (let y = 0; y < PARTICLE_NUM_HEIGHT; y++) { for (let z = 0; z < PARTICLE_NUM_THICKNESS; z++) { const position = new THREE.Vector3( x * PARTICLE_SIZE - BUTTON_SIZE_WIDTH / 2, y * PARTICLE_SIZE - BUTTON_SIZE_HEIGHT / 2, z * PARTICLE_SIZE ); particles.push({ id: particles.length, startPosition: position.clone(), position: position.clone(), velocity: new THREE.Vector3( (Math.random() - 0.5) * PARTICLE_SPEED, (Math.random() - 0.5) * PARTICLE_SPEED, (Math.random() - 0.5) * PARTICLE_SPEED ), scale: PARTICLE_SIZE, }); } } } // --- Generate particle of text --- TEXT.split("").forEach((char, i) => { const position = new THREE.Vector3( i * TEXT_SIZE - BUTTON_SIZE_WIDTH / 2 + TEXT_SIZE / 2, 0, // y-axis center BUTTON_SIZE_THICKNESS + TEXT_FLOAT_OFFSET // Z-axis: slightly floats from the surface ); particles.push({ id: particles.length, startPosition: position.clone(), position: position.clone(), velocity: new THREE.Vector3( (Math.random() - 0.5) * PARTICLE_SPEED, (Math.random() - 0.5) * PARTICLE_SPEED, (Math.random() - 0.5) * PARTICLE_SPEED ), scale: TEXT_SIZE, char, }); }); return particles; }; // ==== // PART 4: Particle Drawing Components // ====== const ExplodingParticles: React.FC<{ particles: Particle[]; state: string }> = ({ particles, state }) => { const groupRef = useRef<THREE.Group> (null); // useFrame: Processing every frame (explosion or return to initial position) useFrame((_, delta) => { groupRef.current?.children.forEach((child) => { const particle = child.userData.particle as Particle; if (state === "explode") { // Explosion: Move based on velocity vector child.position.add(particle.velocity.clone().multiplyScalar(delta)); } else { // return to initial position child.position.lerp(particle.startPosition, RESET_SPEED); } }); }); }); return (<group ref={groupRef}> {particles.map((particle) => particle.char ? ( // Text particle <group key={particle.id} position={particle.position} userData={{ particle }}><Text fontSize={particle.scale} color="white"> {particle.char}</Text></group> ) : ( // Button-shaped particles <mesh key={particle.id} position={particle.position} userData={{ particle }}><boxGeometry args={[particle.scale, particle.scale, particle.scale]} /><meshStandardMaterial color={"#3498db"} /></mesh> ) )}</group> ); }; // ==== // PART 5: Main Components // ===== const ExplodingButtonPage: React.FC = () => { const [particles] = useState<Particle[]> (generateButtonParticles()); const [state, setState] = useState<"idle" | "explode">("idle"); const handleClick = () => { if (state === "idle") { setState("explode"); setTimeout(() => setState("idle"), PARTICLE_TIME); } }; return ( <div style={{ width: "100vw", height: "100vh", background: "black" }}><Canvas camera={{ position: [0, 0, 8] }}> {/* Background effect */} <Stars radius={100} depth={50} count={1000} factor={4} fade /><ambientLight intensity={0.8} /><spotLight position={[10, 10, 10]} intensity={2} castShadow /> {/* Particle Display */}<group onClick={handleClick}><ExplodingParticles particles={particles} state={state} /></group> {/* Camera operation */}<OrbitControls /></Canvas></div> ); }; export default ExplodingButtonPage;
PART 1: Constant definition
First, we will look at the import of each library and the constant definitions.
import React, { useRef, useState } from "react"; import { Canvas, useFrame } from "@react-three/fiber"; import { OrbitControls, Stars, Text } from "@react-three/drei"; import * as THREE from "three"; // ===== // PART 1: Constant definition // ===== const PARTICLE_SIZE = 0.1; // 1 particle size const PARTICLE_NUM_WIDTH = 40; // Number of particles (horizontal) const PARTICLE_NUM_HEIGHT = 20; // Number of particles (horizontal) const PARTICLE_NUM_THICKNESS = 5; // Number of particles (horizontal) const BUTTON_SIZE_WIDTH = PARTICLE_SIZE * PARTICLE_NUM_WIDTH; // Button size = 1 particle * Number of particles const BUTTON_SIZE_HEIGHT = PARTICLE_SIZE * PARTICLE_NUM_HEIGHT; // Button size = 1 particle * number of particles const BUTTON_SIZE_THICKNESS = PARTICLE_SIZE * PARTICLE_NUM_THICKNESS; // Button size = 1 particle * number of particles const TEXT = "Click Me!!"; // Text to display const TEXT_SIZE = BUTTON_SIZE_WIDTH / TEXT.length; // Size per character const TEXT_FLOAT_OFFSET = 0.01; // The distance that allows text to float from the button surface const PARTICLE_SPEED = 2.0; // Speed at explosion const PARTICLE_TIME = 5 * 1000; // duration of explosion (seconds) const RESET_SPEED = 0.05; // Speed to return to original position- Size definition
- To determine the overall size of the button, calculate it by multiplying the particle size and the number of its
PARTICLE_SIZEis the size of a cube of one particle- Set the number of particles (horizontal, vertical, depth) in each direction individually
- Definition of speed and time
PARTICLE_SPEEDis the speed of movement when explosionPARTICLE_TIMEis a time when the explosion animation continues
PART 2: Type definition
Next is the type definition.
It's not necessary with JavaScript, but this time it's created with TypeScript, so type definitions are required.
type Particle = { id: number; // Unique identifier for each particle startPosition: THREE.Vector3; // Initial position position: THREE.Vector3; // Current position velocity: THREE.Vector3; // Movement speed scale: number; // Size char?: string; // Character for text particles };- Purpose of type definition
- Clearly organize the data needed for particles
THREE.Vector3is a type of Three.js that expresses position and velocity in 3D space.charis defined as an optional type (?
PART 3: Particle generation
Defines a function that generates buttons and text particles.
A particle is a button that is one grain that is split up. Each character is a particle.
Rather than having one button split, it is the image of multiple molecules gathering together to form a single button.
This is a function that arranges each of them and creates buttons.
const generateButtonParticles = (): Particle[] => { const particles: Particle[] = []; // Generate cube particles for button for (let x = 0; x < PARTICLE_NUM_WIDTH; x++) { for (let y = 0; y < PARTICLE_NUM_HEIGHT; y++) { for (let z = 0; z < PARTICLE_NUM_THICKNESS; z++) { const position = new THREE.Vector3( x * PARTICLE_SIZE - BUTTON_SIZE_WIDTH / 2, y * PARTICLE_SIZE - BUTTON_SIZE_HEIGHT / 2, z * PARTICLE_SIZE ); particles.push({ id: particles.length, startPosition: position.clone(), position: position.clone(), velocity: new THREE.Vector3( (Math.random() - 0.5) * PARTICLE_SPEED, (Math.random() - 0.5) * PARTICLE_SPEED, (Math.random() - 0.5) * PARTICLE_SPEED ), scale: PARTICLE_SIZE, }); } } } // Create text particle TEXT.split("").forEach((char, i) => { const position = new THREE.Vector3( i * TEXT_SIZE - BUTTON_SIZE_WIDTH / 2 + TEXT_SIZE / 2, 0, BUTTON_SIZE_THICKNESS + TEXT_FLOAT_OFFSET ); particles.push({ id: particles.length, startPosition: position.clone(), position: position.clone(), velocity: new THREE.Vector3( (Math.random() - 0.5) * PARTICLE_SPEED, (Math.random() - 0.5) * PARTICLE_SPEED, (Math.random() - 0.5) * PARTICLE_SPEED ), scale: TEXT_SIZE, char, }); }); return particles; };
- Generate button particles
- Use triple loops to arrange particles in button shapes (length, width, width)
- Set
startPosition) and current position (positionof each particle Velocityis set in a random orientation
- Text particle generation
- Process each character in
TEXT - Each character is placed on the button surface and treated as particles
- Process each character in
PART 4: Particle Drawing
It defines a function that actually draws particles.
const ExplodingParticles: React.FC<{ particles: Particle[]; state: string }> = ({ particles, state }) => { const groupRef = useRef<THREE.Group> (null); useFrame((_, delta) => { groupRef.current?.children.forEach((child) => { const particle = child.userData.particle as Particle; if (state === "explode") { child.position.add(particle.velocity.clone().multiplyScalar(delta)); } else { child.position.lerp(particle.startPosition, RESET_SPEED); } }); }); return (<group ref={groupRef}> {particles.map((particle) => particle.char ? ( <group key={particle.id} position={particle.position} userData={{ particle }}><Text fontSize={particle.scale} color="white"> {particle.char}</Text></group> ) : ( <mesh key={particle.id} position={particle.position} userData={{ particle }}><boxGeometry args={[particle.scale, particle.scale, particle.scale]} /><meshStandardMaterial color={"#3498db"} /></mesh> ) )}</group> ); };- Animation control using useFrame
useFrameis@react-three/fiber, which describes the processing you want to perform every frame in 3D space.delta: The time since the last frame. This makes the animation motion framerate-independentchild.position.add()- On explosion,
velocity(velocity vector) bydeltaand update particle position -
clone()prevents the original speed vector from being destroyed
- On explosion,
Lerp(Linear interpolation)- Gradually approach the original position (
startPositionRESET_SPEEDis the speed indicator
- Gradually approach the original position (
- Drawing particle types (cube and text)
- Cube particles (button shape part)
- Use
meshStandardMaterial - I pass data from
particletouserDatauseFrameto update the location
- Text Particles
@react-three/drei's- Set font size based on particle scale (
scale - Control individually within
the groupso that each character follows the explosion
- Cube particles (button shape part)
- Particle management using group components
- In this case, all particles can be made into one
groupRef - groupRef.current.children
- Access all particles (child elements) in
the group - Refer to
the userDatafor each particle
- Access all particles (child elements) in
PART 5: Main Component
Finally, it will be the main component.
It defines backgrounds and cameras (OrbitControls).
const ExplodingButtonPage: React.FC = () => { const [particles] = useState<Particle[]> (generateButtonParticles()); const [state, setState] = useState<"idle" | "explode">("idle"); const handleClick = () => { if (state === "idle") { setState("explode"); setTimeout(() => setState("idle"), PARTICLE_TIME); } }; return ( <div style={{ width: "100vw", height: "100vh", background: "black" }}><Canvas camera={{ position: [0, 0, 8] }}><Stars radius={100} depth={50} count={1000} factor={4} fade /><ambientLight intensity={0.8} /><spotLight position={[10, 10, 10]} intensity={2} castShadow /><group onClick={handleClick}><ExplodingParticles particles={particles} state={state} /></group><OrbitControls /></Canvas></div> ); };- Status Management
Statetoggles explosion and reset to initial position
- Click Event
- Trigger an explosion and return it to its original state after a certain period of time.
lastly
In this article, we have combined React and Three.js to create a "explosive 3D button"! Through this project, you probably learned the following points:
- How to operate 3D spaces using React Three Fiber
- Implementing interactive animations with particles
- state management (
useState) and animation control (useFrame)
Please try and get the finished 3D buttons in person!
📺 Watch the demo on YouTube : You can watch it from this link
Additionally, the source code for this project is available on GitHub.
Please download the code and try it out!
💾 GitHub Repository : Check the source code at this link
If you found this helpful, please subscribe to our channel!
We will continue to create lessons and works from TypeScript x React Three Fiber in the future!
We will be making an announcement on YouTube, so please subscribe to our YouTube channel and wait for notifications!
📺 Watch YouTube : You can watch it from this link
If you'd like to know what React Three Fiber can do, please refer to the following!
We have easy-to-use works available!
- I tried making bears walk with React x Three.js!
- I tried making an old man dance on React x Three.js!
- I tried to display a 3D model with React x Three.js!
- I made a 3D button that explodes in React x Three.js!
- React Three Fiber x Drei x Introduction to TypeScript! Poke Poke style 3D background made with standard objects!
![How to build a web app that automatically generates LPs in ChatGPT + Next.js [OpenAI API + Next.js + Tailwind CSS]](https://hack-lab-256.com/wp-content/uploads/2025/07/hack-lab-256-samnail-27-300x169.jpg)

![I tried creating a chatbot using the OpenAI API [Next.js + Tailwind CSS]](https://hack-lab-256.com/wp-content/uploads/2025/07/hack-lab-256-samnail-25-300x169.jpg)

![[For beginners] Introduction to React Three Fiber x Drei x TypeScript! Create pixel art and dynamic animations from images](https://hack-lab-256.com/wp-content/uploads/2025/02/hack-lab-256-samnail-16-300x169.jpg)
![[Complete explanation] Learn with React Three Fiber × TypeScript! Practical guide to Transform (Position, Rotation, Scale) for 3D Objects](https://hack-lab-256.com/wp-content/uploads/2025/02/hack-lab-256-samnail-15-300x169.png)
![[Super Easy] Introduction to React Three Fiber x Drei x TypeScript! Poke Poke style 3D background made with standard objects!](https://hack-lab-256.com/wp-content/uploads/2025/02/hack-lab-256-samnail-14-300x169.jpg)