I wanted an Ubuntu environment, so I somehow borrowed a VPS and prepared an Ubuntu environment, so I'll post a memo.
Xserver has an Ubuntu Desktop (GNOME) template, so it automatically sets up Wine and other devices, making it easy to connect with a remote desktop!
Choose which VPS to use!
There are many different VPSs, but here is a brief comparison table below!
| Xserver VPS | Conoha VPS | Sakura VPS | KAGOYA VPS | |
|---|---|---|---|---|
| price | 1,150 yen | 2,033 yen | 1,738 yen | 1,100 yen |
| Memory | 2 GB | 2 GB | 2 GB | 2 GB |
| CPU | 3 cores | 3 cores | 3 cores | 3 cores |
| SSD | 50 GB | 100 GB | 100 GB | 50 GB |
| Recommended POINTS! | Good CPU performance! High specs are also cheap! | There is an hourly fee! | The balance is good! ? | Available on a daily basis! |
| More details here | More details here | More details here | More details here |
This time, we decided to use the Xserver VPS, which is cheaper despite its specs, and if you want to increase your specs in the future, we will be using the low price!
Also, this time I want an Ubuntu desktop environment, and Xserver will automatically do that, so there's also the advantage that there's no need to do anything troublesome!

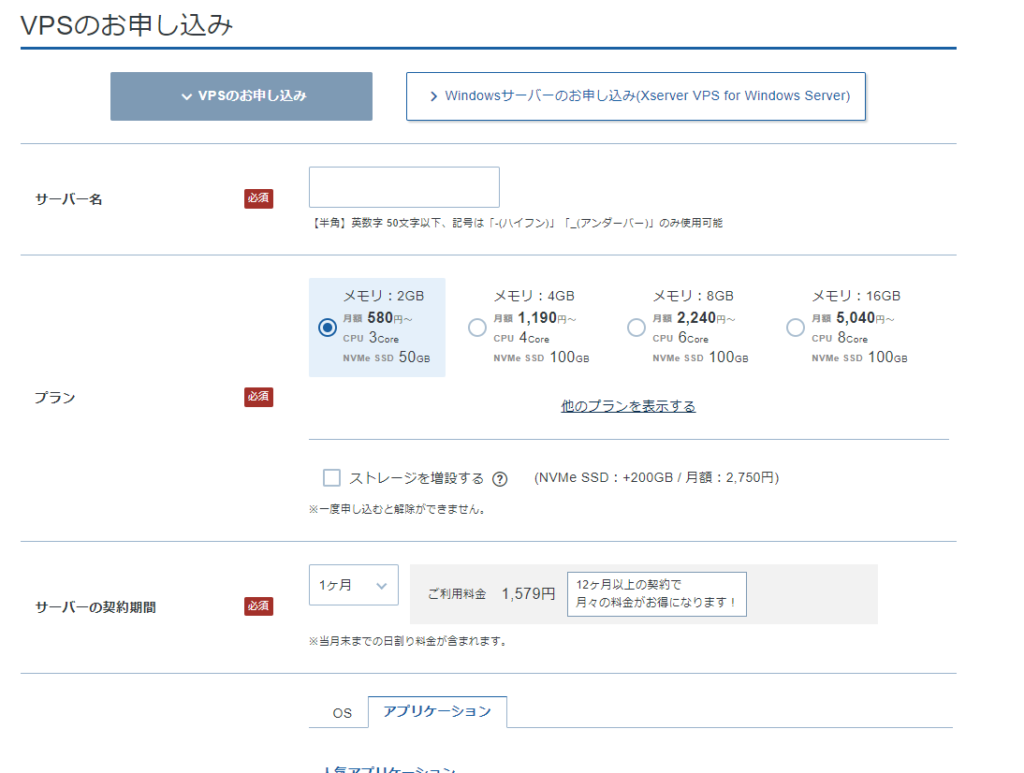
Apply for a VPS
This time we will sign up with the lowest specifications!
Note that 580 yen per month is a three-year contract, so if you sign a contract for one month, it will cost 1,150 yen.
Additionally, since contract month is charged on a prorated basis, the usage fee is high.
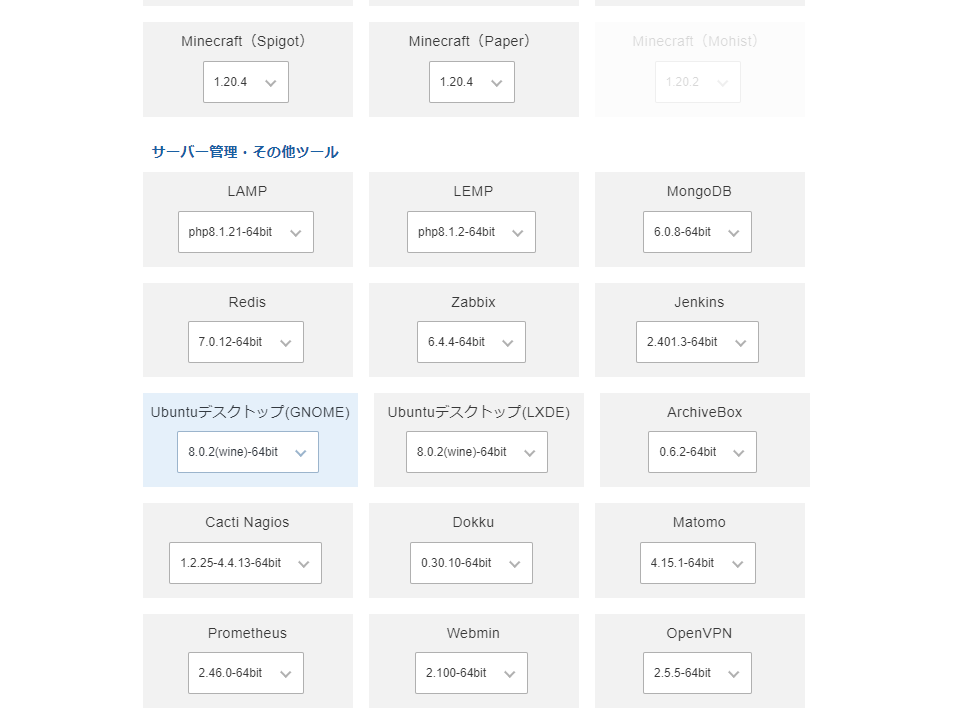
There are various templates, but please select "Ubuntu Desktop (GNOME)."
If necessary, you should automatically generate an SSH Key.
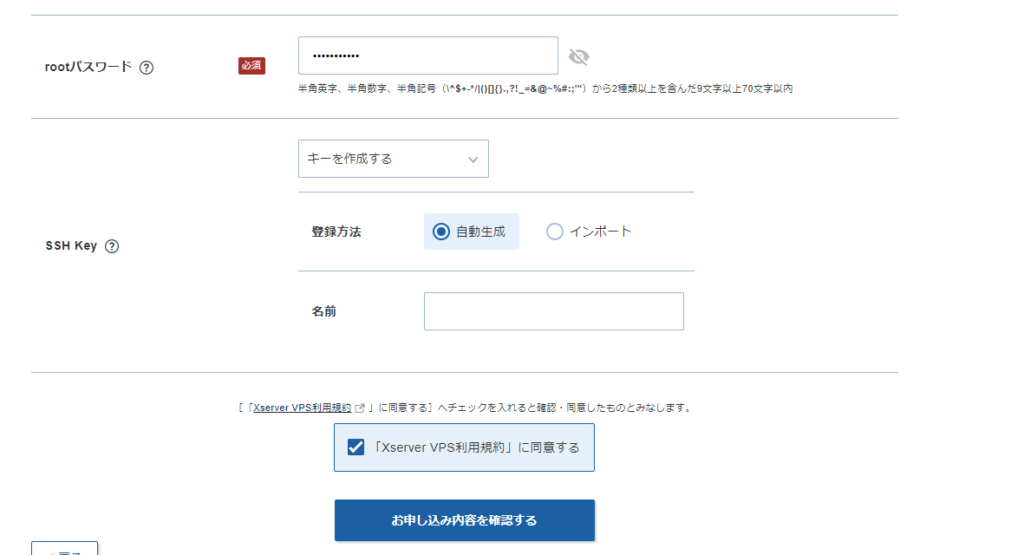
Once you have finished "Confirm your application details" and payment, the contract will be completed!
It will take a little while, so wait about an hour.
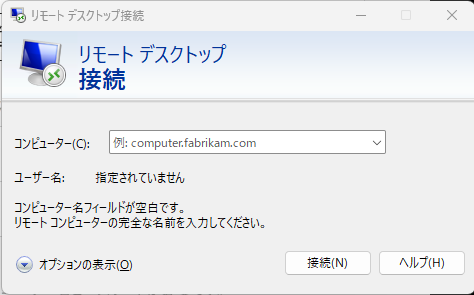
Connect with Remote Desktop
No need to configure anything, you can connect from a remote desktop!
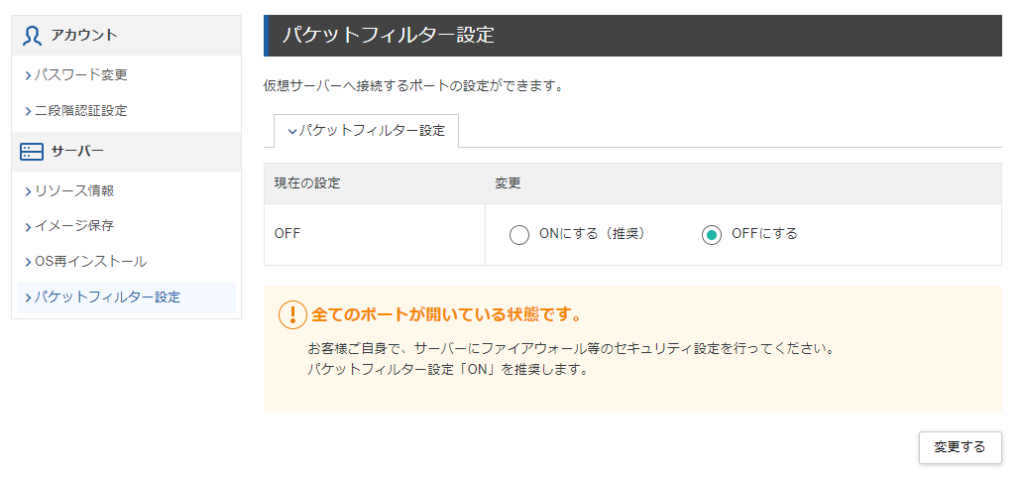
The packet filter is set to OFF, but please check it just in case.
In the VPS panel, there is a "Console" button, so select it to open the console.
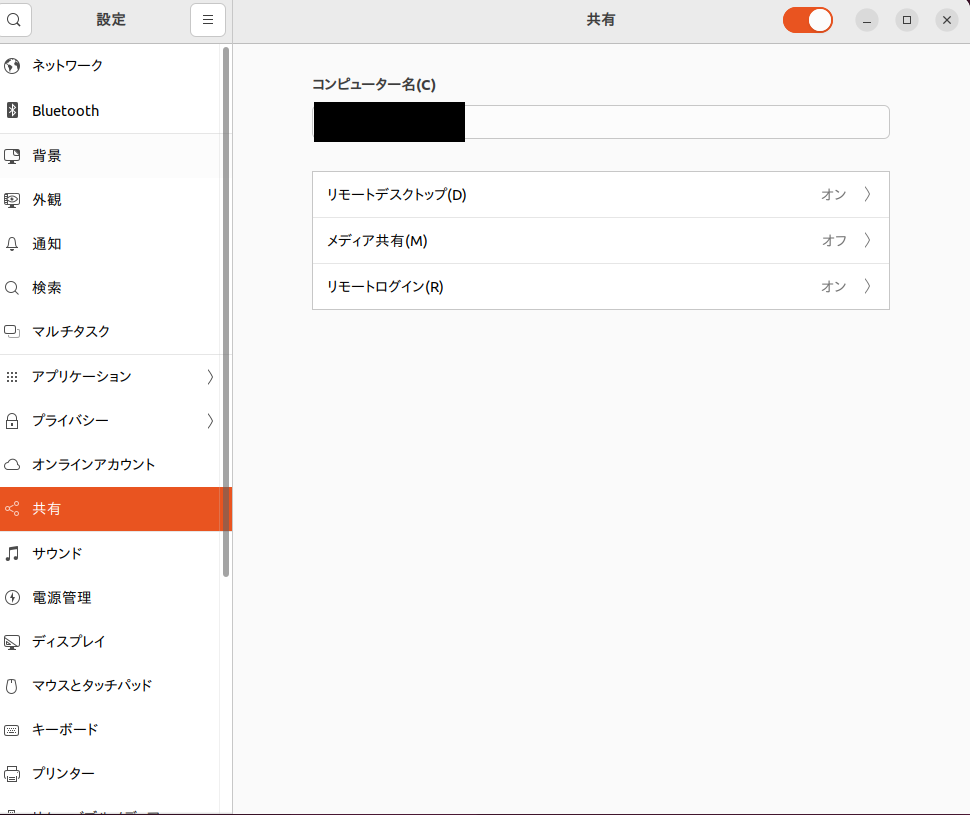
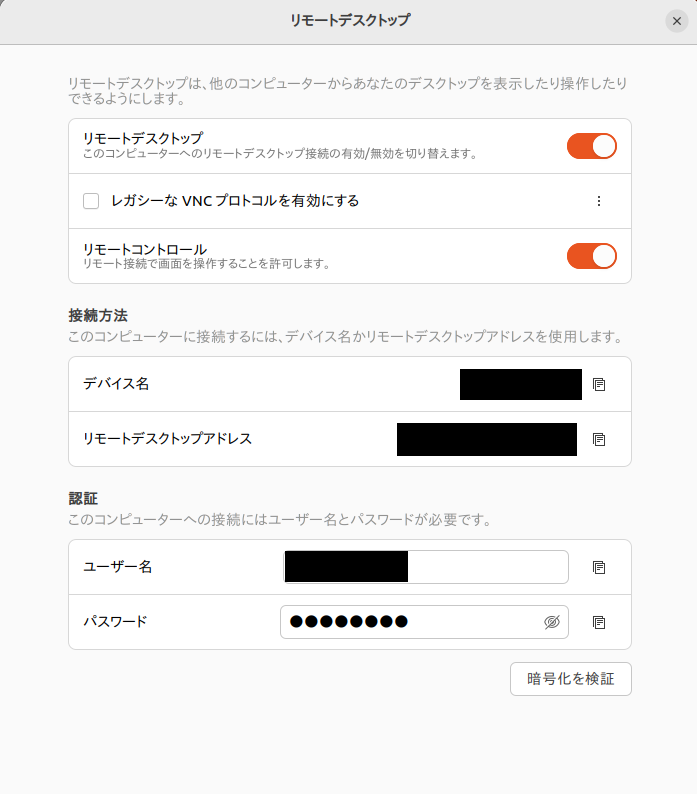
Select "Remote Desktop Settings" and select "Remote Desktop" on the screen below.
Below you will find the device name, username, and password, so please check it. (You can change your username and password on this screen.)
The computer name must contain the IP address listed in the "Device Name."
(Please read it as X999-999-999-999⇒999.999.)
Set your username and password as stated (if you have changed, please enter the changed value.)
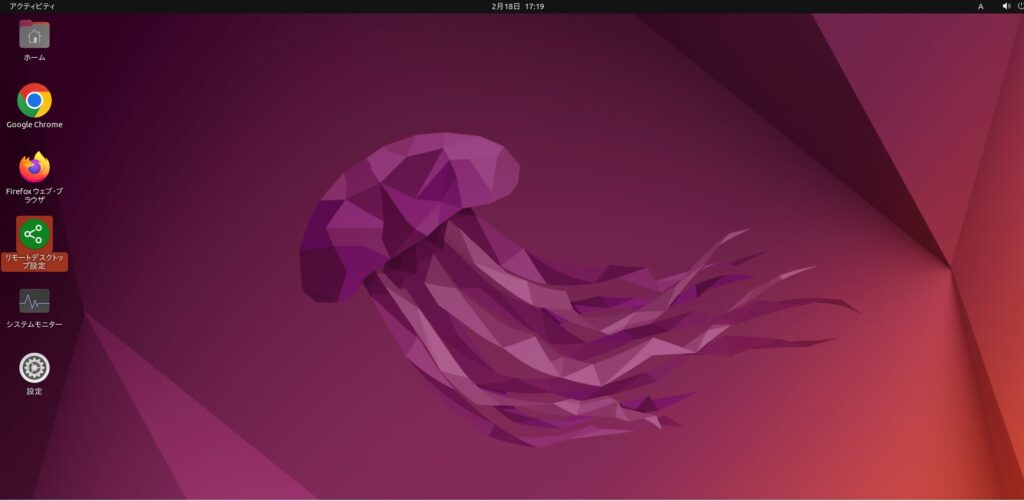
Now you'll have your Ubuntu desktop environment! !
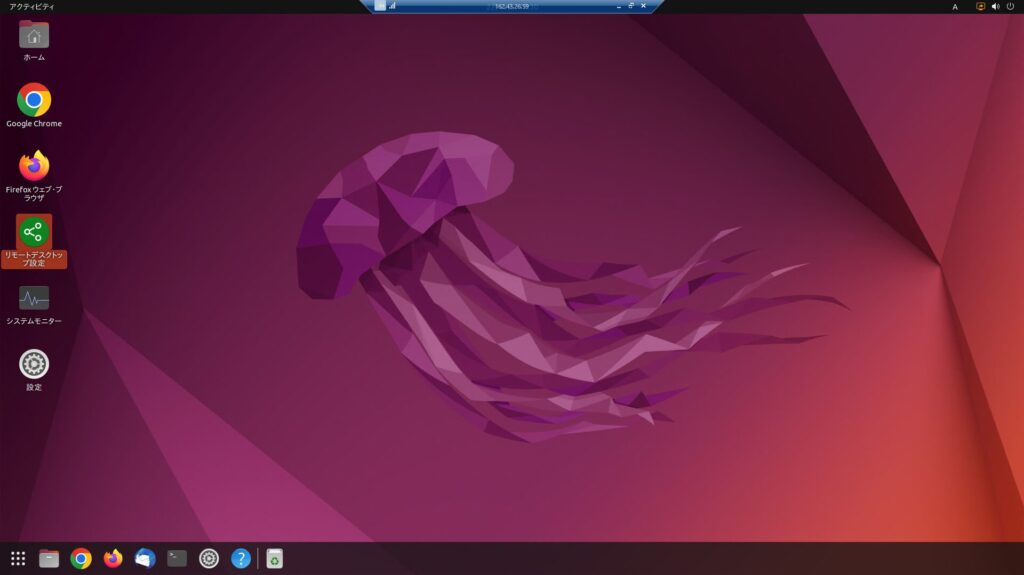
Once you've started it, first do the following:
apt update apt upgradesummary
This time, we have summarized the steps to build an Ubuntu desktop environment using the Xserver VPS.
Since there is a template, it was really easy to be able to build an environment without doing anything difficult.
If you're looking for an Ubuntu desktop environment, why not try using Xserver VPS?

![[XSS Demo] I tried hacking a website in just one line!!](https://hack-lab-256.com/wp-content/uploads/2025/07/hack-lab-256-samnail-23-300x169.jpg)